UrFix's Blog

A geek without a cause

Tag: facebook

  • This morning Facebook announced Timeline, an awesome look at everything that has  happened in your Facebook lifespan. It’s like a story book of your online life.

    Facebook is enabling Timeline early for open graph developers. As a reader of UrFix Blog you’ll learn how to get started today.

    1. Log into Facebook

    2. Enable developer mode, if you haven’t already. To do this, type “developer” into the Facebook search box, click the first result (it should be an app made by Facebook with a few hundred thousand users), and add the app.
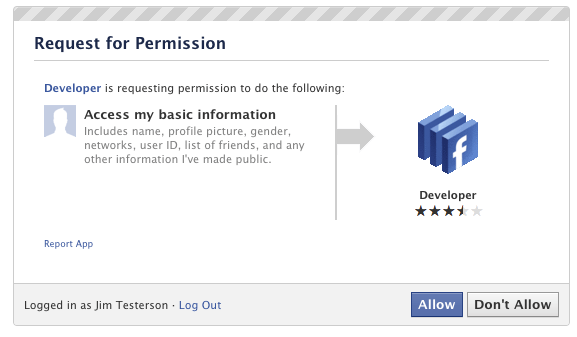
    3. Jump into the developer app (if Facebook doesn’t put you there automatically, it should be in your left-hand tool bar)

    4. Create a new app (don’t worry — you wont actually be submitting this for anyone else to see/use). Give your shiny new app any display name and namespace you see fit. Read through and agree to the Platform Privacy agreement. This is the step you need to be verified for.

    5. Ensure you’re in your new app’s main settings screen. You should see your app’s name near the top of the page

    6. Look for the “Open Graph” header, and click the “Get Started using open graph” link.

    Create a test action for your app, like “read” a “book”, or “eat” a “sandwich”
    7. This should drop you into an action type configuration page. Change a few of the default settings (I changed the past tense of “read” to “redd” — again, only you can see this unless you try and submit your application to the public directory), and click through all three pages of settings

    8. Wait 2-3 minutes

    9. Go back to your Facebook homescreen. An invite to try Timeline should be waiting at the top of the page

    Only developers and yourself will be able to see your new profile till September 29th.


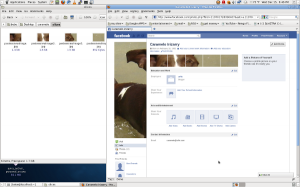
    here is what mine looks like

    and even a map of places I’ve check in….

    Have fun, and remember this is still in beta so you are bound to find a bug or two.
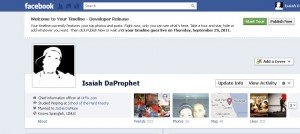
  • There are a lot of changes in Facebook lately, small and large which you can read about in great detail at TechCrunch.

    Here are a few:

    • A stream of your recent tagged photos appears at the top of the screen, and there are more pictures of your friends on the page. This is because the main problem with Facebook is that there weren’t enough opportunities to see pictures of people.
    • Now there’s a field on your page called “philosophy,” which folds in your religious, political views and favorite quote. Plus a brand new field: “People Who Inspire You.” (If you put Mark Zuckerberg you should be able to get access to a special Super Facebook.)
    • All your vital stats are squished up under your name in a list now. It actually looks pretty good, like you’re a character in a Role Playing Game or something!
    • There is also a field for sports, if you can somehow fit physical activity in between checking your Facebook profile
    • Tabs bring up different sections of your profile. Tabs: So hot right now.

    I’m going to show you how to create the “Famous New Profile Hack” using GIMP

    Let’s begin

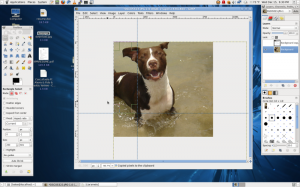
    Start by picking the picture you would like to use.

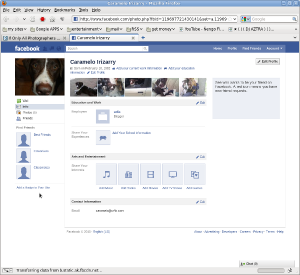
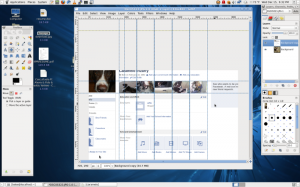
    Take a screen-shot of your Facebook profile

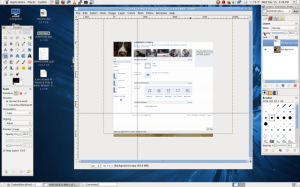
    open your new profile screen-shot inside of GIMP

    Paste the first picture you chose to use in step one as a new layer

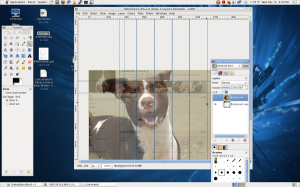
    Now grab the GIMP side ruler and drag two guide 200 width and 600 height

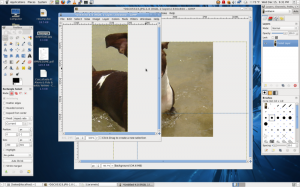
    now grab the select tool and copy in between the new guides

    and select Edit-> Paste as new image.

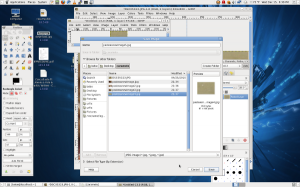
    save that new image as profile.jpg

    now create a guide for each small picture in the profile

    zoom in if you have to.

    I decreased the opacity of the original picture just to see if it will align properly

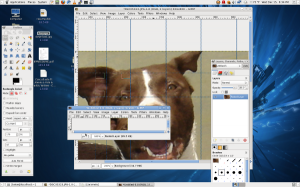
    Now with the select tool grab the first box

    copy

    and paste it as new image

    copy each box and paste as new image for the rest of the boxes.

    Now we should have 5 small pictures and the long profile picture

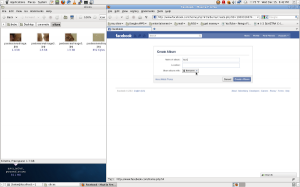
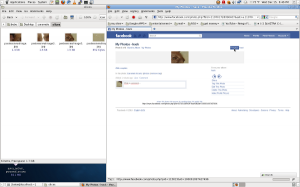
    Go to Facebook, Create a album and make sure “EVERYONE” is selected

    Upload the picture labeled profile.jpg and make this your profile picture

    We are almost done

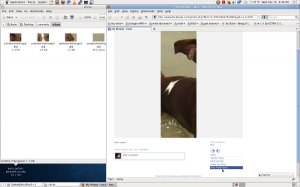
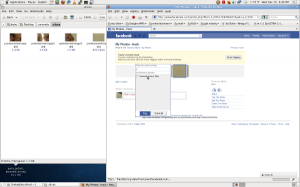
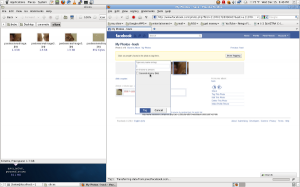
    now start tagging your photos

    start from last to first

    Select the last pic and tag as yourself


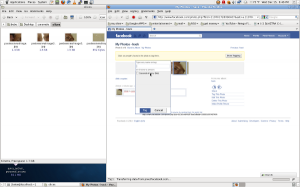
    hit previous and tag the next one and so forth


    You are done. Wasn’t that easy

Chat

Hi 👋, how can we help?